
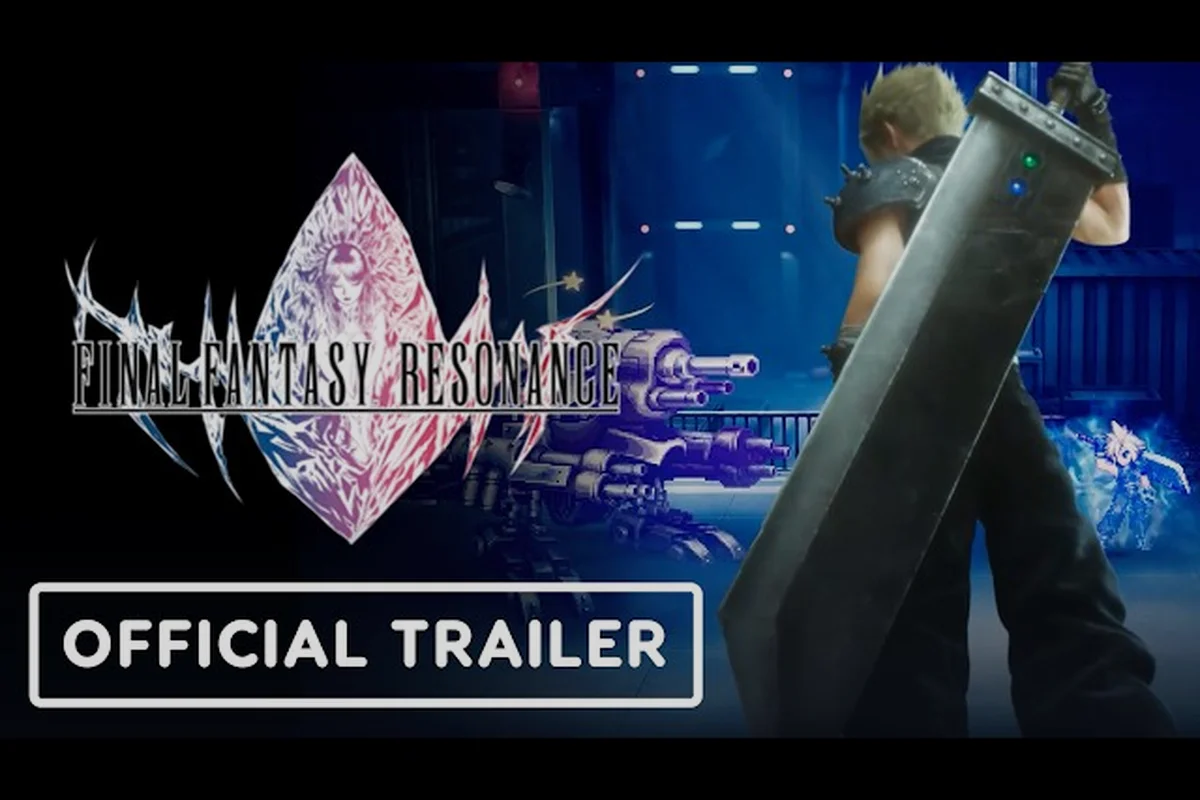
FINAL FANTASY RESONANCE packs a surprising amount of optional content beyond its main story, and knowing where to look makes the difference between a standard playthrough and a truly complete one. This final fantasy resonance side content guide focuses on the two most rewarding optional systems: the legendary Gilgamesh encounters and the battle-focused colosseum. Both offer exclusive gear, rare materials, and some of the toughest fights in the game, which is why understanding how to unlock and prepare for them matters before you invest hours into grinding. Get the full breakdown of unlock conditions, reward tables, and fight strategies below so you can tackle this content with confidence instead of stumbling through it blind.
The Scope of Optional Content in FINAL FANTASY RESONANCE
The optional content in FINAL FANTASY RESONANCE goes far beyond a few hidden chests or a bonus boss tucked into a corner. According to the official FINAL FANTASY RESONANCE Steam page, the game adapts the Lapis arc from the mobile title Brave Exvius into a full console-quality RPG, and that adaptation includes a dense layer of side activities that reward exploration and combat mastery. While the main story pushes you through Grandshelt and beyond, the optional systems operate on their own timeline, unlocking progressively as you clear story chapters and meet specific character or progression thresholds.
The two pillars of this optional content are the Gilgamesh hunt and the colosseum battles, but they are far from the only distractions available. Esper dungeons, vision shrines, and hidden quests all fall under the umbrella of optional content, and each one feeds into a different progression loop. The table below breaks down the major optional content categories and what they reward, so you can prioritize based on your goals.
| Optional Content | Unlock Method | Primary Rewards | Difficulty |
|---|---|---|---|
| Gilgamesh Encounters | Story chapter progression + specific overworld triggers | Legendary weapons, rare crafting materials | High |
| Colosseum Battles | Post-chapter 8 unlock quest in Grandshelt | Colosseum tokens, exclusive equipment | Medium to High |
| Esper Dungeons | Overworld exploration, hidden entrances | New Espers for Fina, stat boosts | Medium |
| Vision Shrines | Puzzle-solving in optional areas | Vision upgrades, passive buffs | Low to Medium |
| Hidden Side Quests | NPC dialogue triggers, exploration | Gil, items, unique accessories | Low |
Because the colosseum and Gilgamesh content demand the most preparation, this guide dedicates the bulk of its attention to those two systems. That said, the esper dungeon network deserves a mention here because several Gilgamesh encounters require specific esper abilities to reach hidden platforms or bypass barriers. If you have not yet built out Fina's summoner toolkit, you may find yourself locked out of certain optional areas entirely, which is why the esper skills guide is worth reading alongside this one for a complete picture of how these systems interconnect.
The key takeaway is that optional content in FINAL FANTASY RESONANCE is not a single checklist but a web of interconnected systems. Progress in one area often unlocks or simplifies another, and the order in which you tackle them can significantly impact how smoothly your playthrough goes. Players who ignore this content entirely will still finish the main story, but they will miss out on some of the most powerful equipment and the most memorable boss fights the game has to offer.
How to Find Gilgamesh: Encounter Locations and Triggers
The legendary swordsman Gilgamesh is arguably the most iconic optional boss in the Final Fantasy franchise, and FINAL FANTASY RESONANCE gives him a worthy adaptation. Finding him is not a simple matter of walking into a designated boss arena, however. The game scatters his appearances across multiple chapters, and each encounter has its own trigger conditions that require both story progression and specific exploration actions.
First Encounter: The Zolda Ruins Trigger
Your first chance to fight Gilgamesh comes after clearing Chapter 4, when the world map opens up significantly. Return to the Zolda Ruins area, which you visited during the main story, and look for a cracked wall on the eastern side of the second floor. Breaking this wall requires a bomb-type vision equipped on Lasswell, as his standard attacks cannot damage the barrier. Inside, you will find a glowing portal that transports you to the Void Arena, where Gilgamesh awaits with his signature blend of sword techniques and taunts.
The fight itself is a wake-up call for players who have been coasting through the main story. Gilgamesh opens with Zantetsuken, a devastating attack that deals heavy damage to your entire party and has a chance to instantly KO any character below 50 percent HP. Bringing a healer with raise abilities is non-negotiable for this encounter, and you should also stock up on lightning-resistant accessories because several of his sword arts channel elemental damage. The reward for this first victory is the Genji Blade, a weapon that offers a significant attack boost and becomes the foundation for later weapon upgrades.
Second Encounter: The Airship Chase Sequence
The second Gilgamesh fight triggers much later, after you obtain the airship around Chapter 10. Once you have the airship, fly to the Lanzelt Desert region and land at the southernmost point of the map. You will find a lone NPC named Dr. Lugae who mentions seeing a strange figure with multiple arms near the Crystal Caverns. Travel there on foot, and you will trigger a cutscene where Gilgamesh steals a crystal shard and flees, starting a chase sequence across three different map zones.
This encounter is less about raw combat and more about navigation speed. You have a limited number of steps to catch Gilgamesh before he escapes, and each zone transition costs you precious time. The trick is to use the airship fast-travel system strategically, landing at the closest possible point to each of his three stops. If you catch him, you face a tougher version of the first fight with new attacks like Excalipoor, a comically weak move that he uses to taunt you before unleashing his real techniques. Victory here rewards the Genji Shield, which provides excellent defense and a passive chance to counter physical attacks.
Third Encounter: The Post-Game Rematch
The final Gilgamesh fight is reserved for post-game content, becoming available only after you complete the main story and defeat the final boss. Return to the Void Arena location from the first encounter, and you will find a new portal that leads to the True Void Arena. This version of Gilgamesh pulls no punches, combining every technique from his previous appearances with new mechanics like multi-turn combos that can wipe a party in a single round if you are not properly prepared.
This fight demands a party level of at least 65, and you should have your stagger mechanics fully mastered because Gilgamesh has a stagger meter that, when filled, leaves him vulnerable for three full turns. The reward for this ultimate challenge is the Genji Armor, one of the best defensive pieces in the game, along with the Gilgamesh summon, which allows Fina to call him into battle as a powerful physical attacker. According to community reports, this is the hardest optional fight in the game, and even well-prepared players often need multiple attempts to secure the victory.
Colosseum Guide: Unlock Process and Battle Structure
The colosseum in FINAL FANTASY RESONANCE serves as the game's primary repeatable combat challenge, offering a structured gauntlet of fights that scale in difficulty as you progress. Unlike the Gilgamesh encounters, which are one-time story-adjacent events, the colosseum is designed for repeated farming, with a token economy that lets you purchase exclusive rewards over time.
How to Unlock the Colosseum
The colosseum unlock process begins after you clear Chapter 8 and return to Grandshelt City. Head to the northern district, where you will find a building that was previously locked with a royal seal. Speak to the guard outside, who explains that the arena has been closed since the war began, and he tasks you with finding the Arena Master who holds the key. The Arena Master is located in the Port City of Lanzelt, hiding in a tavern on the eastern side of town.
After speaking with him, you need to complete a short quest chain that involves defeating three champion monsters in the surrounding wilderness. These monsters are marked on your map with a special icon, and each one is roughly as difficult as a standard boss from the same chapter. Once all three are defeated, the Arena Master returns to Grandshelt and opens the colosseum for business. The full unlock process takes about two to three hours, depending on your level and how quickly you can navigate between locations.
Battle Structure and Tier System
The colosseum operates on a tier system that unlocks progressively as you win matches. Each tier contains a set number of battles, and clearing a tier unlocks the next one along with new rewards in the token shop. The table below outlines the tier structure and what you can expect from each level of competition.
| Tier | Battle Count | Enemy Level Range | Token Reward per Clear | Notable Drops |
|---|---|---|---|---|
| Bronze | 5 battles | 35-40 | 200 tokens | Colosseum armor set |
| Silver | 7 battles | 45-50 | 350 tokens | Rare crafting materials |
| Gold | 10 battles | 55-60 | 500 tokens | Unique accessories |
| Platinum | 12 battles | 65-70 | 750 tokens | Exclusive weapons |
| Champion | 15 battles | 75+ | 1000 tokens | Legendary equipment |
Each battle within a tier follows a standard format: you face a series of enemy waves with no healing between fights, which means MP management becomes a critical skill. Your party's HP and MP carry over from one battle to the next, and you only recover by using items or abilities mid-fight. This creates a resource management puzzle that rewards players who bring a balanced party with both healing and damage-dealing capabilities.
The Champion tier deserves special attention because it includes a surprise fight against a powered-up version of Gilgamesh as the final battle. This version is slightly weaker than the post-game True Void Arena encounter, but it still requires solid preparation and a deep understanding of the game's combat systems. Clearing the Champion tier for the first time rewards the Colosseum Champion title, which unlocks exclusive dialogue options and a unique accessory that boosts all stats by a small percentage.
Colosseum Rewards: Token Economy and Best Purchases
The colosseum token economy is the primary reason players return to the arena again and again. Tokens are earned from every battle, with larger amounts awarded for clearing higher tiers and for achieving bonus objectives like finishing a fight without using items or defeating all enemies within a set number of turns. The token shop in the colosseum lobby offers a rotating selection of items, but several permanent staples are always available.
Top Priority Purchases
When you first start earning tokens, the temptation is to spend them immediately on the cheapest items available. That is a mistake because several high-value purchases only become available after you accumulate a significant number of tokens. Based on community testing and player reports, the following purchases offer the best return on investment:
-
Colosseum Master Set: This armor set costs 2000 tokens and provides excellent defensive stats along with a passive bonus to stagger damage. It is the single best early purchase because it remains viable well into the late game.
-
Rare Vision Crystals: These crystals, priced at 500 tokens each, are used to upgrade vision abilities and are otherwise difficult to farm in large quantities. Buying them with tokens saves hours of grinding in the overworld.
-
Genji Fragment: A rare material needed for upgrading the Genji weapons obtained from Gilgamesh encounters. Each fragment costs 750 tokens, and you need five to fully upgrade one weapon.
-
Colosseum Exclusive Accessories: These accessories rotate on a weekly schedule and offer unique effects like auto-revive or MP regeneration. Check the shop regularly because some of these effects are not available anywhere else in the game.
Efficient Token Farming Strategies
If you want to maximize your token income, the most efficient approach is to farm the Gold tier repeatedly rather than pushing into Platinum or Champion. The Gold tier offers a good balance between difficulty and reward, and experienced players can clear it in about 20 minutes with a well-optimized party. The Platinum tier offers more tokens per clear, but the increased difficulty means slower clear times and a higher risk of failure, which wastes time and resources.
Another efficient strategy involves focusing on bonus objectives during battles. Each battle in the colosseum has hidden bonus conditions that grant extra tokens when met, such as defeating a specific enemy first or using only physical attacks. Paying attention to these conditions and building your party to satisfy them can increase your token income by 30 to 50 percent over time. The colosseum monsters guide provides a detailed breakdown of enemy weaknesses and recommended strategies for each tier, which is invaluable for optimizing your farming runs.
Preparation Strategies for Optional Boss Fights
Tackling the optional content in FINAL FANTASY RESONANCE without proper preparation leads to frustration, especially when you are facing the higher-tier colosseum battles or the post-game Gilgamesh encounter. The good news is that the game gives you all the tools you need to succeed, provided you understand how to use them effectively.
Party Composition and Role Balance
The most important preparation step is building a party that covers all four essential roles: damage dealer, tank, healer, and support. Rain works well as a tank with his high defense and provoke abilities, while Lasswell excels as a physical damage dealer with his sword arts. Fina is the obvious choice for healing and support, especially if you have unlocked several espers for her, because her summon abilities provide both healing and offensive utility.
For the hardest optional fights, consider swapping in a second damage dealer instead of a dedicated tank. The reasoning is simple: fights like the post-game Gilgamesh encounter punish drawn-out battles with increasingly powerful attacks, so ending the fight quickly is often safer than trying to outlast the boss. This strategy requires a healer who can keep up with the incoming damage, which means Fina needs access to her strongest healing espers and a supply of high-quality healing items.
Equipment and Vision Optimization
Before attempting any high-level optional content, you should review your equipment and vision loadouts to ensure they are optimized for the fights ahead. The table below summarizes the key preparation steps and what each one accomplishes.
| Preparation Step | Recommended Action | Impact on Fight |
|---|---|---|
| Weapon Upgrades | Fully upgrade your main damage dealer's weapon | Increases damage output by 20-30 percent |
| Elemental Resistance | Equip accessories that resist the boss's primary element | Reduces incoming damage significantly |
| Vision Loadout | Equip visions that boost stagger damage or provide healing | Improves stagger efficiency and survivability |
| Item Stock | Carry at least 10 high-tier healing items and 5 revival items | Prevents party wipes from unlucky boss attacks |
| Esper Selection | Assign espers that provide elemental coverage for the fight | Allows you to exploit boss weaknesses |
The vision system deserves special attention because it provides passive buffs that are always active in battle. A well-optimized vision loadout can increase your party's damage by 15 percent or more, which is often the difference between clearing a tough boss and wiping at the last phase. If you are struggling with the optional content, revisiting your vision choices and upgrading your best options is usually the fastest path to improvement.
Learning Boss Patterns
Finally, do not underestimate the value of learning boss attack patterns through repetition. The optional bosses in FINAL FANTASY RESONANCE are designed with telegraphed attacks that give you a turn to react, and recognizing these tells allows you to guard, heal, or reposition before the damage lands. Community reports suggest that most players need two to three attempts to learn the post-game Gilgamesh fight, but those attempts are not wasted because each one teaches you something new about the encounter.
For the colosseum, the hidden content guide offers a broader look at all the optional systems in the game, including some that are easy to miss entirely. Combining that knowledge with the strategies in this guide gives you a comprehensive toolkit for tackling everything the game throws at you, whether you are chasing the best gear or simply want to see all the content the developers built.
Frequently Asked Questions
What is the best order to tackle optional content in FINAL FANTASY RESONANCE?
Start with the colosseum after Chapter 8 because it provides consistent rewards and helps you level up efficiently. Then pursue the first Gilgamesh encounter around Chapter 4 or 5, followed by the second encounter after obtaining the airship. Save the post-game Gilgamesh fight for last, as it requires the highest level and best equipment.
How do I unlock the colosseum in FINAL FANTASY RESONANCE?
Clear Chapter 8, then speak to the guard outside the sealed colosseum building in Grandshelt City. Find the Arena Master in the Port City of Lanzelt, complete his quest to defeat three champion monsters in the wilderness, and he will return to Grandshelt to open the arena. The whole process takes about two to three hours.
What are the best rewards from the colosseum token shop?
The Colosseum Master Set armor is the best early purchase because it provides excellent defense and a passive stagger damage bonus. Rare Vision Crystals are also worth buying since they save significant grinding time. Save tokens for Genji Fragments if you are upgrading Gilgamesh weapons, as these are otherwise difficult to obtain.
Is Gilgamesh harder than the colosseum Champion tier?
The post-game Gilgamesh fight is harder than any single colosseum battle, but the Champion tier is harder overall because it requires consistent performance across 15 battles with no healing between fights. The Champion tier's final Gilgamesh fight is slightly weaker than the True Void Arena version, making it a good practice run for the real challenge.
Can I fight Gilgamesh more than once?
Yes, but only the post-game version is repeatable. The first two encounters are one-time story events, and if you miss them, you cannot go back. The post-game True Void Arena fight can be repeated as many times as you want, and it always rewards the Genji Armor and Gilgamesh summon on the first clear, with rare materials on subsequent clears.